

[Android/Kotlin] #Fragment 사용법

💡 개요
오늘은 Android에서 Fragment를 어떻게 사용할 수 있는지에 대해 예제를 통해 공부해보려 한다.
우리는 Activity를 통해서 화면을 전환할 수 있다.
하지만 Activity 전체를 전환하는 것은 Fragment를 사용해 화면을 교체하는 것보다
상대적으로 많은 리소스를 사용한다.
그렇기 때문에 효율적인 App을 만들기 위해선 Fragment를 사용하는 것이 좋다.
💡 STEP 1 : Layout에 <FrameLayout> 추가하기
가장 처음으로 Fragment를 사용해 화면을 교체하고자 하는 Layout에 FrameLayout을 추가해줘야 한다.
나는 activity_main에서 사용하기 위해 다음과 같이 추가했다.
아래 2개의 Button은 Fragment를 교체하기 위해 추가했다.
[activity_main.xml]
<?xml version="1.0" encoding="utf-8"?>
<androidx.constraintlayout.widget.ConstraintLayout xmlns:android="http://schemas.android.com/apk/res/android"
    xmlns:app="http://schemas.android.com/apk/res-auto"
    xmlns:tools="http://schemas.android.com/tools"
    android:layout_width="match_parent"
    android:layout_height="match_parent"
    tools:context=".MainActivity">

    <FrameLayout
        android:id="@+id/container_fragment"
        android:layout_width="0dp"
        android:layout_height="0dp"
        android:layout_marginStart="16dp"
        android:layout_marginTop="16dp"
        android:layout_marginEnd="16dp"
        android:background="@color/black"
        app:layout_constraintBottom_toTopOf="@id/btn_fragment_a"
        app:layout_constraintEnd_toEndOf="parent"
        app:layout_constraintStart_toStartOf="parent"
        app:layout_constraintTop_toTopOf="parent" />

    <Button
        android:id="@+id/btn_fragment_a"
        android:layout_width="wrap_content"
        android:layout_height="wrap_content"
        android:layout_margin="16dp"
        android:text="Fragment A"
        app:layout_constraintBottom_toBottomOf="parent"
        app:layout_constraintStart_toStartOf="parent" />

    <Button
        android:id="@+id/btn_fragment_b"
        android:layout_width="wrap_content"
        android:layout_height="wrap_content"
        android:layout_margin="16dp"
        android:text="Fragment B"
        app:layout_constraintBottom_toBottomOf="parent"
        app:layout_constraintEnd_toEndOf="parent" />

</androidx.constraintlayout.widget.ConstraintLayout>
💡 STEP 2 : FrameLayout에 들어갈 Fragment UI 만들기
FrameLayout에서 교체할 Fragment를 만드는 단계이다.
나는 2개의 Fragment 예시를 만들었다.
[fragment_a.xml]
<?xml version="1.0" encoding="utf-8"?>
<androidx.constraintlayout.widget.ConstraintLayout xmlns:android="http://schemas.android.com/apk/res/android"
    xmlns:app="http://schemas.android.com/apk/res-auto"
    android:layout_width="match_parent"
    android:layout_height="match_parent"
    android:background="@color/purple_500">

    <TextView
        android:layout_width="wrap_content"
        android:layout_height="wrap_content"
        android:text="Fragment_A"
        android:textSize="40sp"
        android:textStyle="bold"
        app:layout_constraintBottom_toBottomOf="parent"
        app:layout_constraintEnd_toEndOf="parent"
        app:layout_constraintStart_toStartOf="parent"
        app:layout_constraintTop_toTopOf="parent" />

</androidx.constraintlayout.widget.ConstraintLayout>
[fragment_b.xml]
<?xml version="1.0" encoding="utf-8"?>
<androidx.constraintlayout.widget.ConstraintLayout xmlns:android="http://schemas.android.com/apk/res/android"
    xmlns:app="http://schemas.android.com/apk/res-auto"
    android:layout_width="match_parent"
    android:layout_height="match_parent"
    android:background="@color/teal_200">

    <TextView
        android:layout_width="wrap_content"
        android:layout_height="wrap_content"
        android:text="Fragment_B"
        android:textSize="40sp"
        android:textStyle="bold"
        app:layout_constraintBottom_toBottomOf="parent"
        app:layout_constraintEnd_toEndOf="parent"
        app:layout_constraintStart_toStartOf="parent"
        app:layout_constraintTop_toTopOf="parent" />

</androidx.constraintlayout.widget.ConstraintLayout>
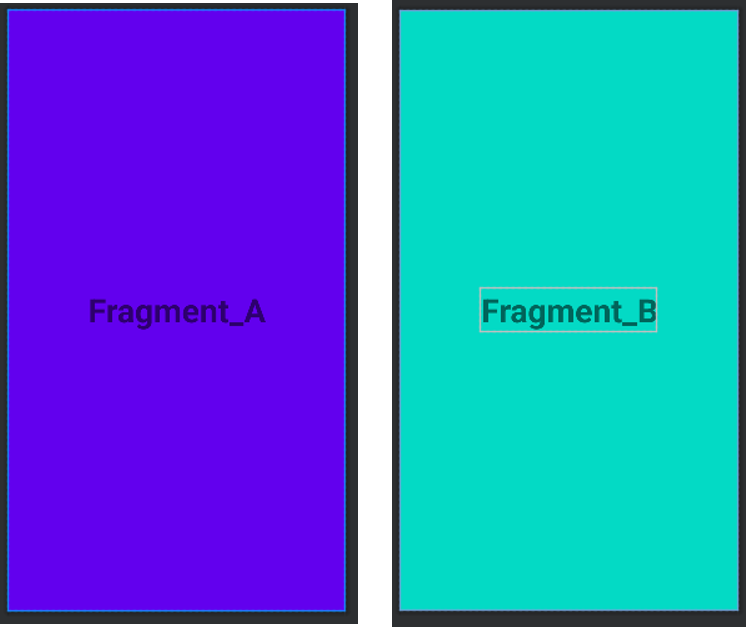
Fragment 실제 화면은 다음과 같다.
💡 STEP 3 : Fragment 만들기
Activity를 사용할 때도 Layout을 만들고 해당 Layout객체를 Activity에서 이용하듯
Fragment도 유사한 방식으로 만들어줘야 한다.
우선 viewBinding을 사용하기 위해 build.gradle(Module 수준)에 다음의 코드를 추가한다.
viewBinding {
    enabled = true
}
viewBinding에 대한 자세한 설명을 알고 싶으면 아래를 참고하면 된다.
https://coderand.tistory.com/entry/AndroidKotlin-View-Binding-%EC%82%AC%EC%9A%A9%EB%B2%95
[Android/Kotlin] #View Binding 사용법
💡 View Binding이란? 우리는 기존에 Layout에 있는 View에 접근하기 위해서는 아래와 같이 사용해야 했었다. // TextView 변수 선언 private lateinit var tvOne: TextView // TextView 변수와 activity_main의..
coderand.tistory.com
그리고 Fragment의 기능을 이용하기 위해 Fragment()를 상속받는다.
class AFragment : Fragment() {
}
이후 Activity에서 onCreate로 Activity를 생성하듯 Fragment에선 onCreateView로 Fragment를 생성한다.
[AFragment.kt]
class AFragment : Fragment() {
    private lateinit var binding: FragmentABinding

    // layout을 inflate하는 단계로 뷰 바인딩 진행, UI에 대한 작업은 진행하지 않음
    override fun onCreateView(
        inflater: LayoutInflater, container: ViewGroup?,
        savedInstanceState: Bundle?
    ): View? {
        // Inflate the layout for this fragment
        binding = FragmentABinding.inflate(inflater, container, false)
        return binding.root
    }
}
[BFragment.kt]
class BFragment : Fragment() {
    private lateinit var binding: FragmentBBinding

    // layout을 inflate하는 단계로 뷰 바인딩 진행, UI에 대한 작업은 진행하지 않음
    override fun onCreateView(
        inflater: LayoutInflater, container: ViewGroup?,
        savedInstanceState: Bundle?
    ): View? {
        // Inflate the layout for this fragment
        binding = FragmentBBinding.inflate(inflater, container, false)
        return binding.root
    }
}
💡 STEP 4 : Fragment의 화면 교체하기
여기까지 만들었으면 실제 Fragment를 이용하는 곳에서 다음의 코드를 작성하면 된다.
[MainActivity.kt]
package com.example.fragmentexample

import AFragment
import BFragment
import androidx.appcompat.app.AppCompatActivity
import android.os.Bundle
import com.example.fragmentexample.databinding.ActivityMainBinding

class MainActivity : AppCompatActivity() {
    private lateinit var binding: ActivityMainBinding

    override fun onCreate(savedInstanceState: Bundle?) {
        super.onCreate(savedInstanceState)
        binding = ActivityMainBinding.inflate(layoutInflater)
        setContentView(binding.root)

        binding.btnFragmentA.setOnClickListener {
            supportFragmentManager.beginTransaction().replace(R.id.container_fragment, AFragment()).commit()
        }

        binding.btnFragmentB.setOnClickListener {
            supportFragmentManager.beginTransaction().replace(R.id.container_fragment, BFragment()).commit()
        }
    }
}
💡 결과

'Android > Kotlin' 카테고리의 다른 글
| [Android/Kotlin] #원형 ImageView(CircleImageView) 사용하기 (0) | 2022.06.09 |
|---|---|
| [Android/Kotlin] #Zxing라이브러리를 이용한 QR코드 스캔 (0) | 2022.06.07 |
| [Android/Kotlin] #TedPermission을 이용한 권한 관리 (1) | 2022.04.20 |
| [Android/Kotlin] #View Binding 사용법 (0) | 2022.04.08 |
| [Android/Kotlin] #RecyclerView 사용법 (2) (0) | 2022.04.07 |


